
How to Shoot Video (Part III): Audio
People will forgive a less-than-perfect image. Bad audio? That's a different story.
There's nothing quite like coming home from a shoot, importing footage that looks incredible, and discovering that the audio sounds like it was recorded through a drive-through speaker.
Suddenly, all that time spent choosing the perfect lens, lighting setup, and camera movement doesn't feel nearly as important.
That's the frustrating thing about audio. When it's done well, most people never think about it. When it's done poorly, it's practically impossible to ignore.
This is the third and final part of my introduction to shooting video with a DSLR or mirrorless camera. We've covered the visuals and camera movement. Now we're getting into the part that too many photographers overlook: sound.
I'm not trying to turn you into a professional sound engineer. I want you to understand which microphone to use, where to put it, how to record it, and how to recognize a problem before it ruins your shoot.
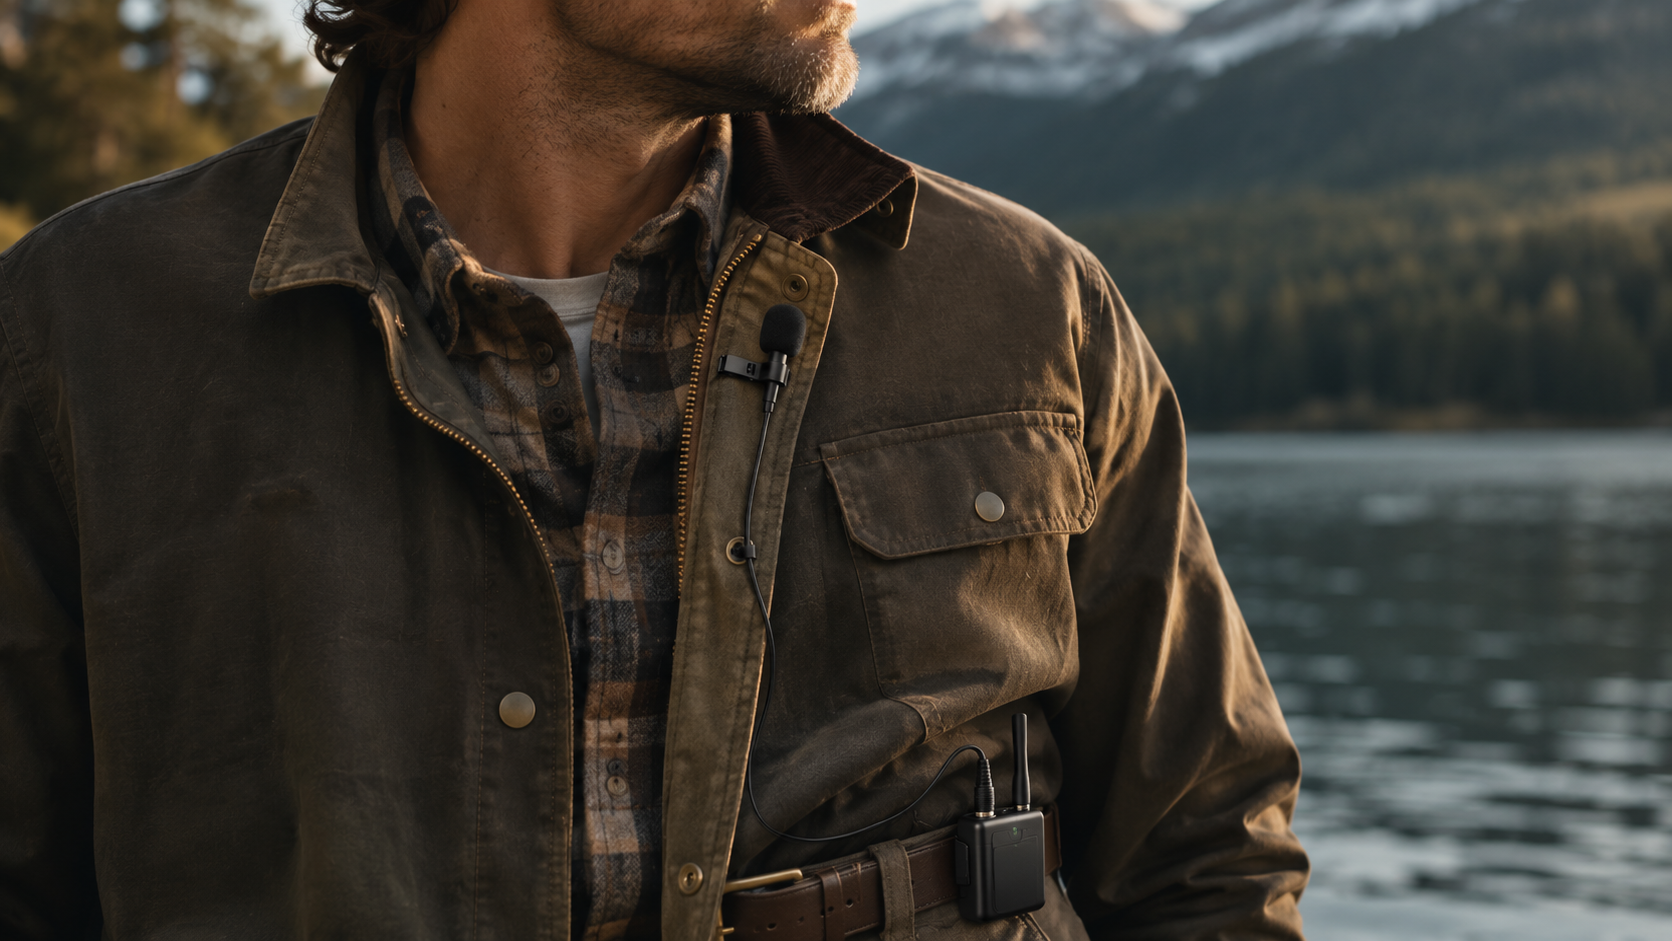
Microphone Placement Matters More Than You Think.
Before talking about equipment, there's something worth understanding: an expensive microphone won't necessarily save a bad recording.
Let's say you're filming an interview in a large room. Your subject is twenty feet away, and you're relying on the microphone mounted to your camera. You'll probably hear their voice. You'll also hear the air conditioning, traffic, people talking nearby, and everything bouncing off the walls.
Move a properly chosen microphone closer to the speaker, and their voice becomes more prominent relative to the room. It's one of the simplest improvements you can make.
Capture more of what matters and less of what doesn't. That's the job.
Understanding Microphone Pickup Patterns.
If you've ever shopped for microphones, you've probably seen terms like omnidirectional, cardioid, supercardioid, and hypercardioid.
These describe a microphone's polar pattern, or how sensitive it is to sound arriving from different directions. Think of it as a map of what the microphone hears best.
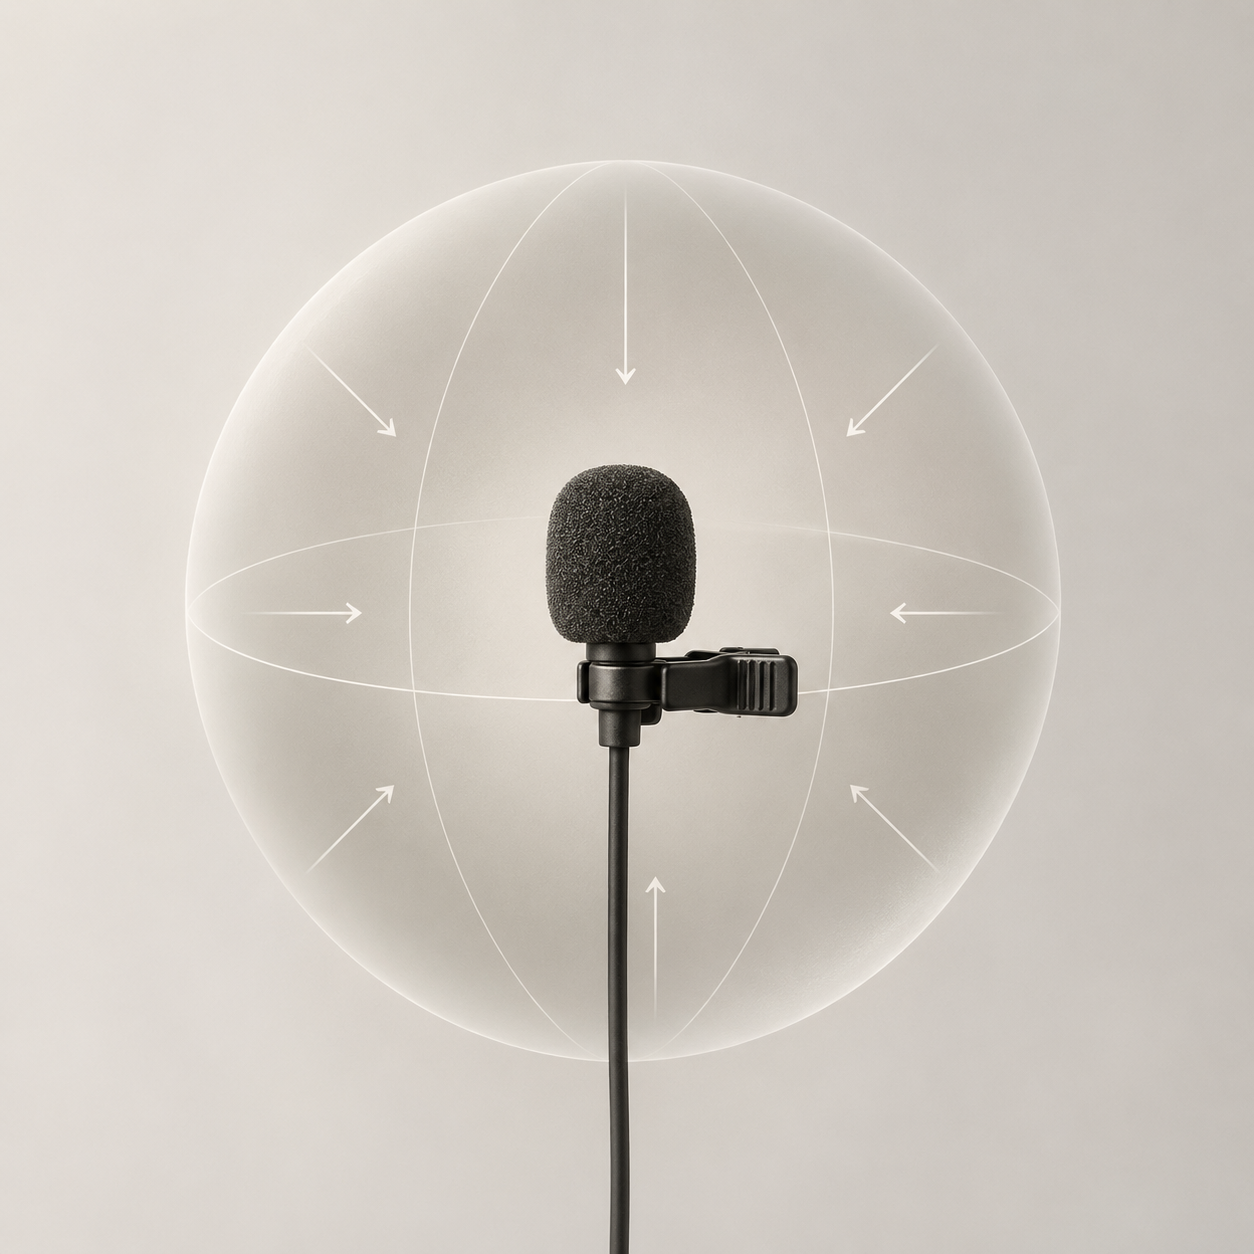
Omnidirectional.
Responds to sound from every direction. Common in lavaliers, where the speaker may turn their head while talking.

Cardioid.
Favors sound from the front and reduces sensitivity toward the rear. Common in handheld vocal microphones.

Super / Hypercardioid.
Narrower front pickup with some rear sensitivity. Useful for isolating dialogue when positioning is controlled.

A directional microphone doesn't magically remove background noise. If the noise is coming from the direction you're pointing the microphone, you're likely recording it too.
Likewise, an omnidirectional lavalier can deliver excellent dialogue when it's placed close to the speaker.
You'll also hear microphones described as dynamic or condenser. Those terms describe how the microphone converts sound to a signal, not which directions it hears. They're different parts of the same decision.
Lavalier Microphones: Small, Convenient, and Surprisingly Versatile.
A lavalier microphone—usually called a lav—is designed to attach to someone's clothing. You'll see them in interviews, documentaries, corporate videos, and presentations.
They're popular because they keep the mic relatively close to the speaker without asking anyone to hold it.
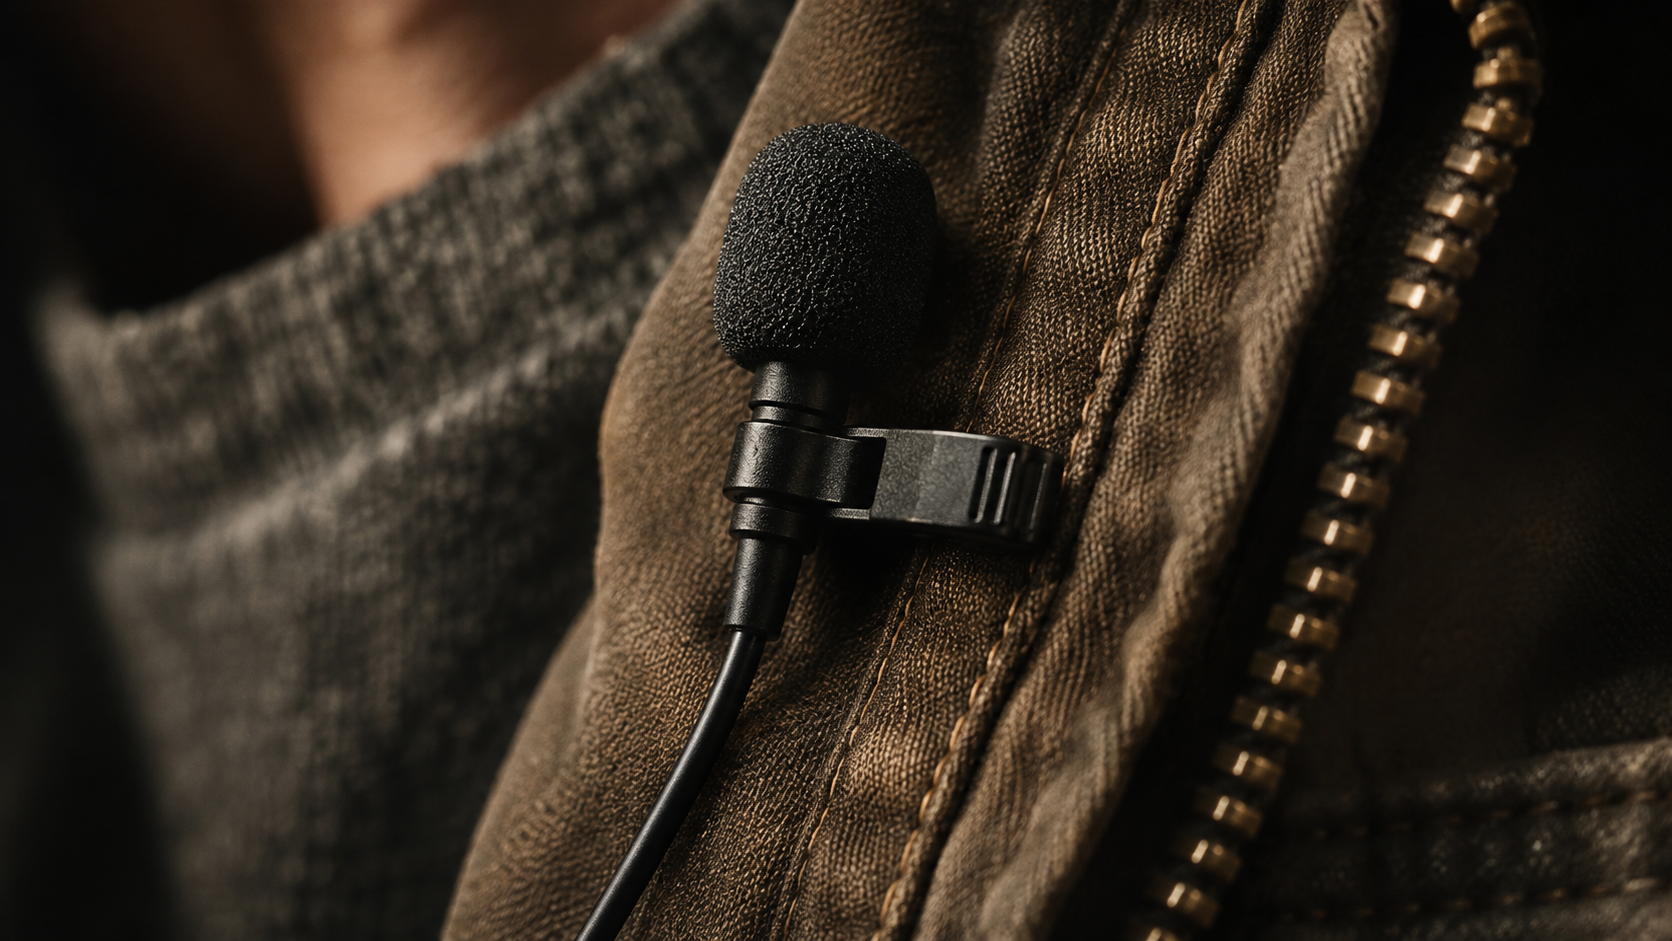
When I'd Use a Lav.
If I'm filming an interview, a presenter, or someone walking through a location, a lav is one of the first options I'd consider.
Most lavs are omnidirectional, although other patterns exist. They work well because they're close to the voice. The challenge is keeping them clear of clothing, jewelry, and movement.
I've heard beautiful recordings ruined by a jacket rubbing against the microphone. It's a small detail that sounds enormous once you put on headphones.
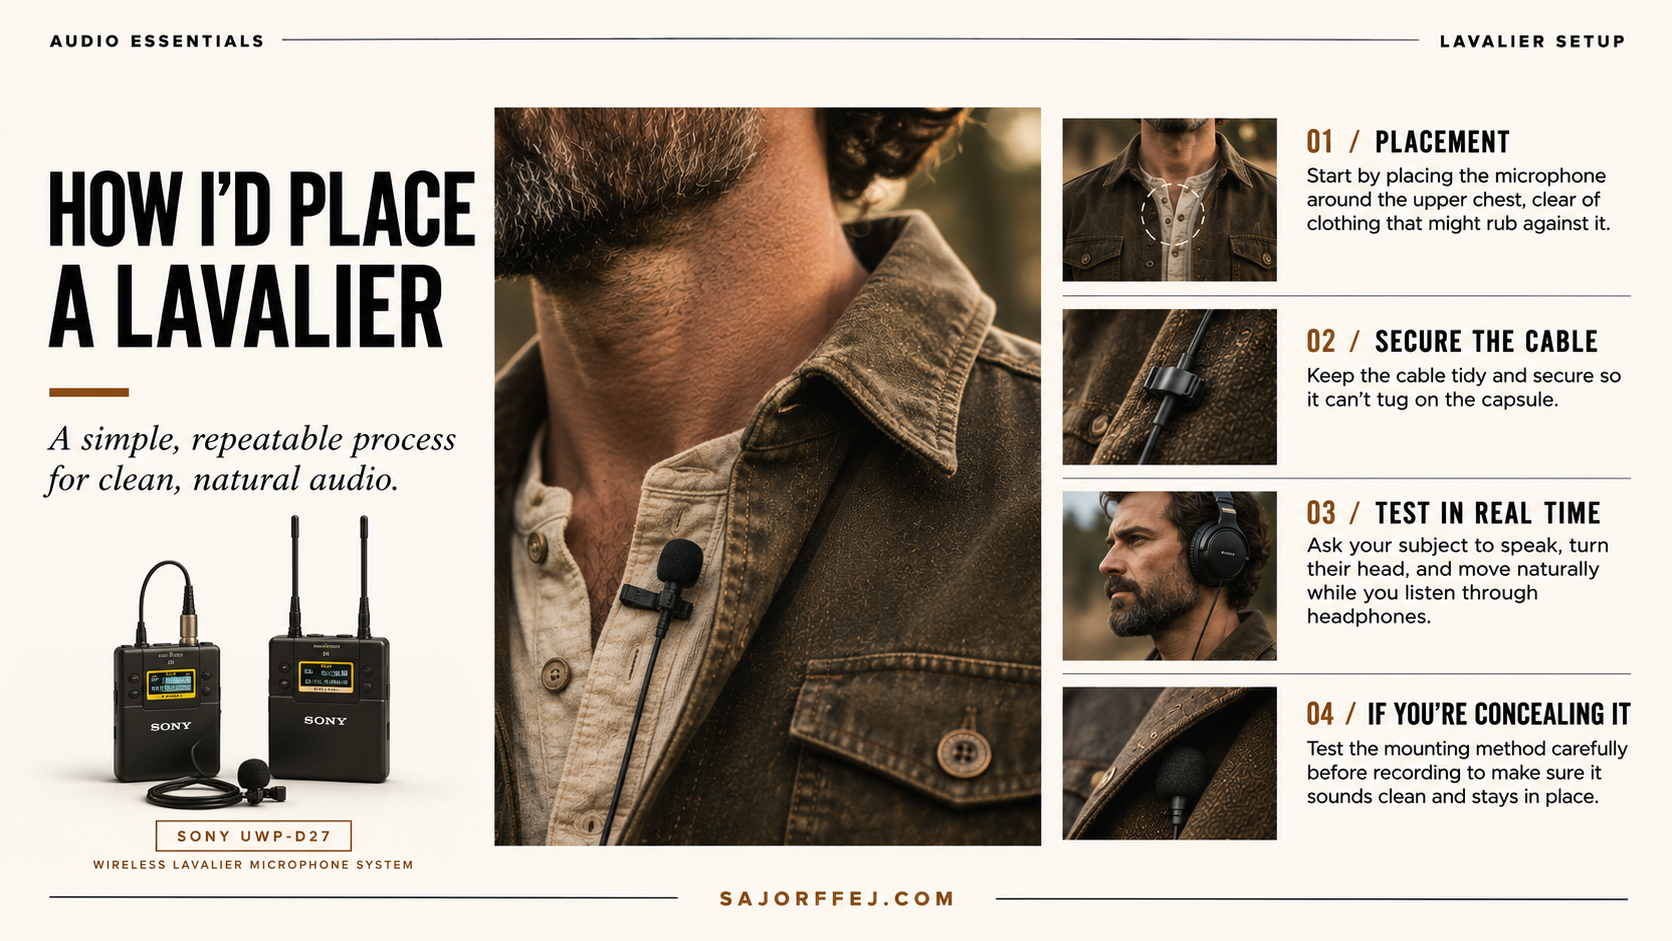
One last distinction: the lav is the microphone; the wireless transmitter is what carries its signal. A lav can be wired or used with a compatible wireless system.
Shotgun Microphones: When You Don't Want a Microphone in the Shot.
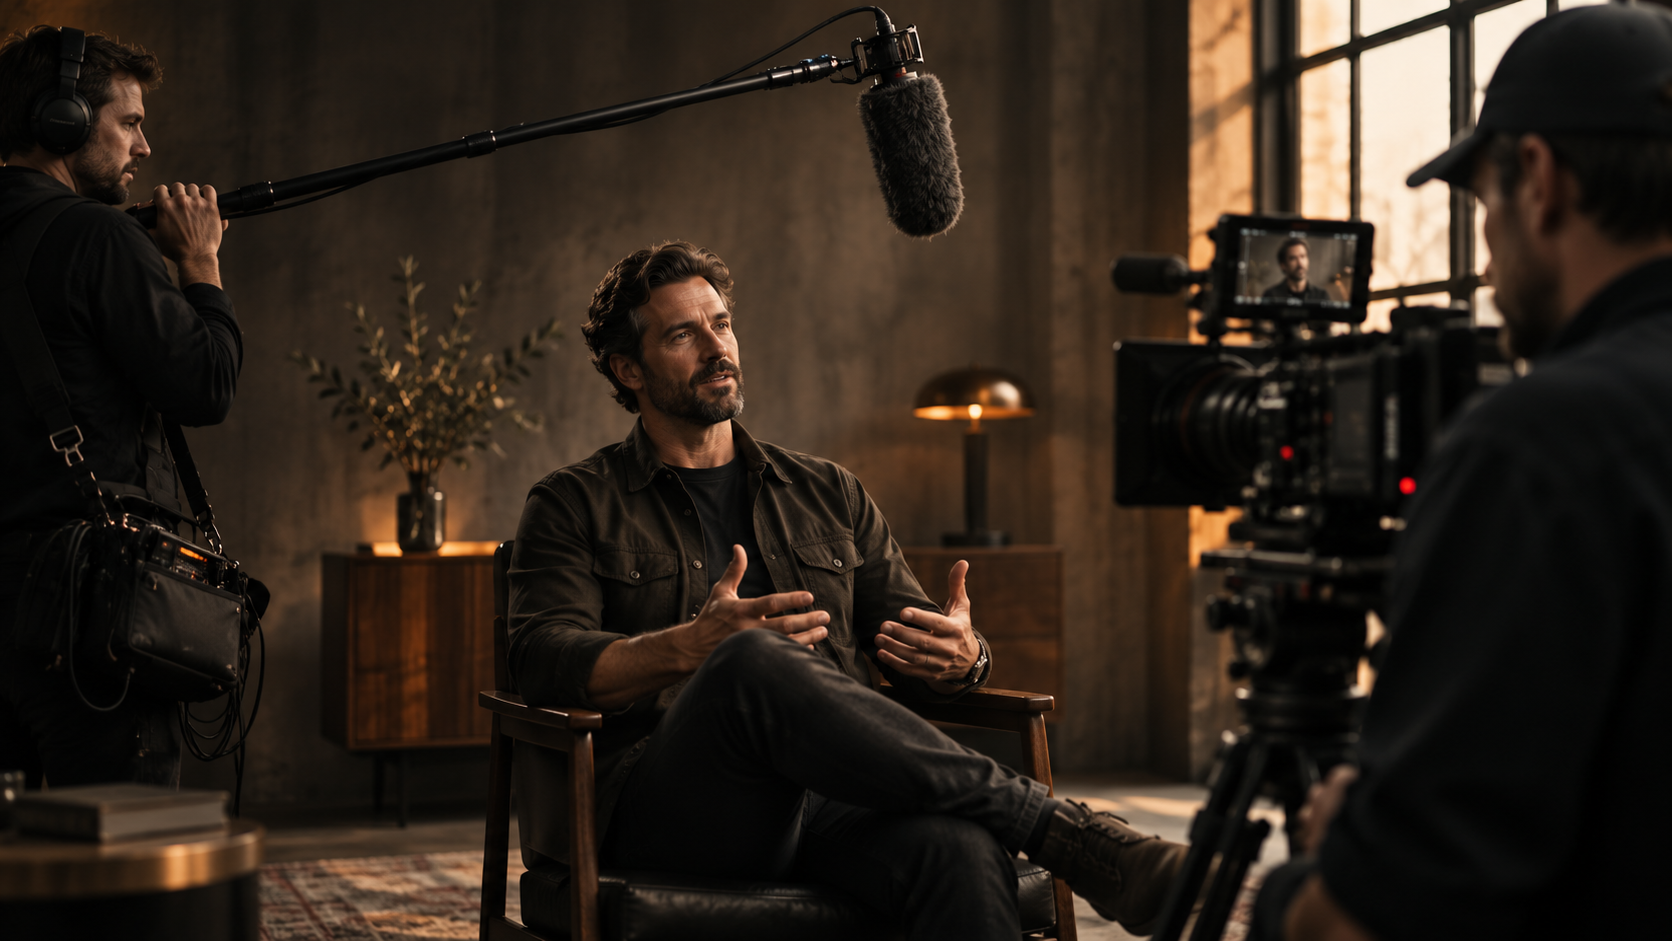
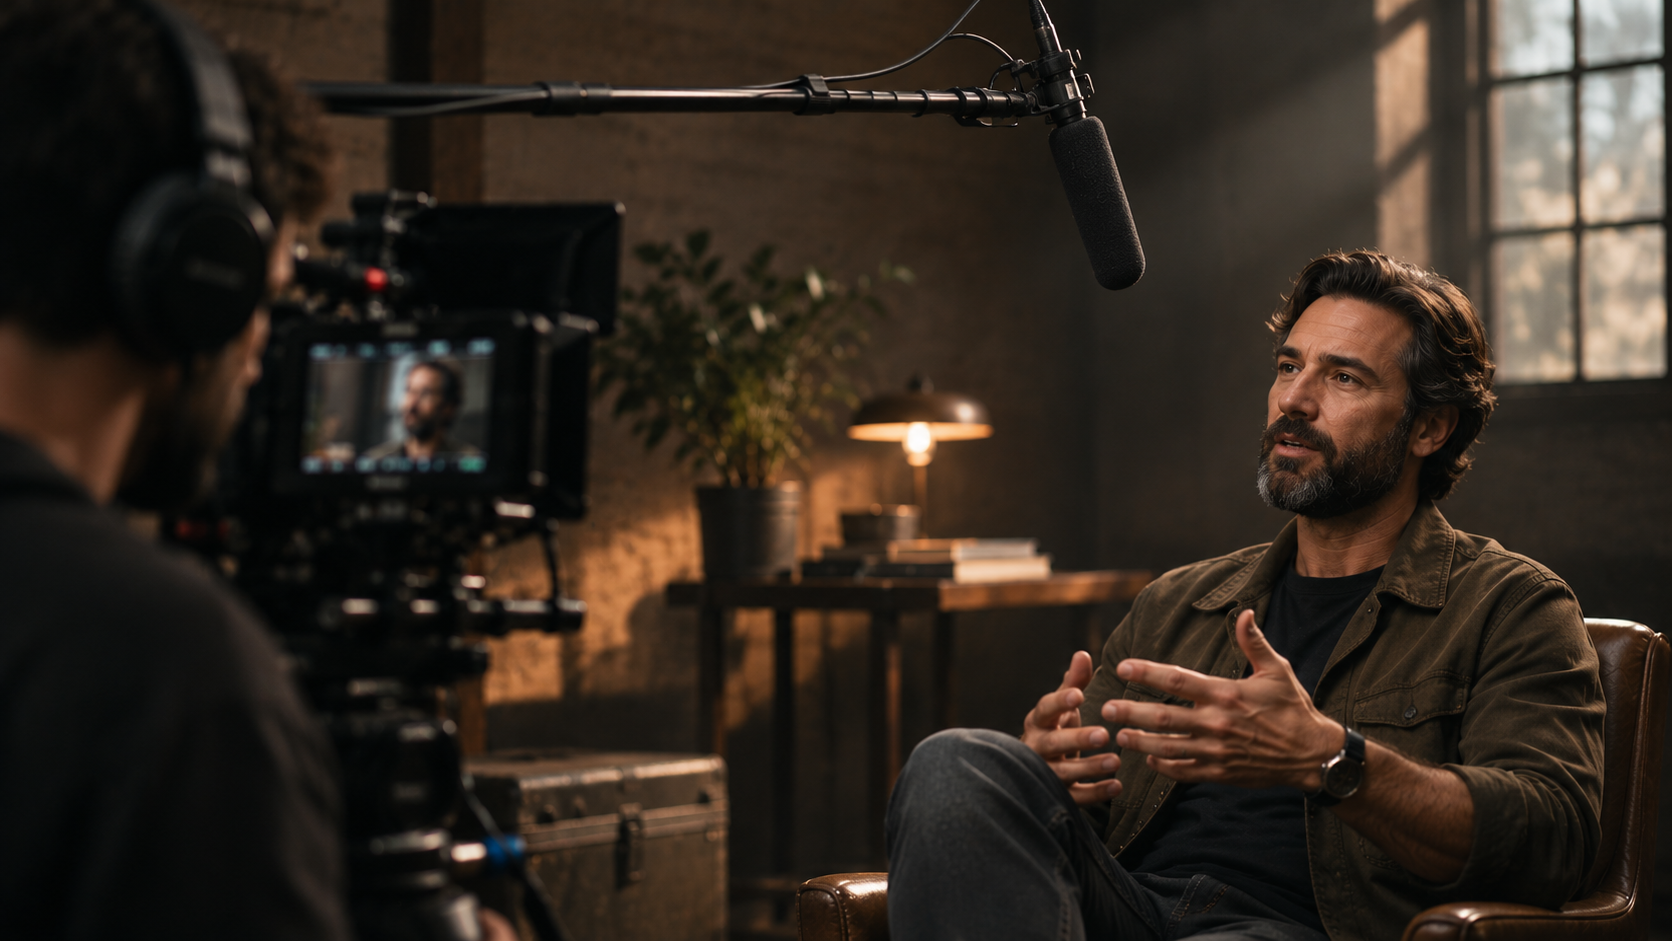
If you've watched behind-the-scenes footage from a film set, you've probably seen someone holding a long pole above the actors. That's the boom operator.
The boom is the pole used to position the microphone. The microphone itself may be a shotgun or another directional dialogue mic. They're often used together, but they're not the same thing.

Why I'd Use a Shotgun.
A shotgun microphone favors sound coming from the direction it's pointed. That can help reduce unwanted sound arriving from the sides.
It's useful for recording dialogue when the subject can't wear a microphone, or when you don't want a visible lav.
But here's the mistake I see all the time: a shotgun microphone isn't a telescope for sound. You can't mount one on a camera fifty feet away and expect it to sound like you're standing beside the speaker.
Distance still matters. So does the room.
When I'm placing a boom, I want it as close to the subject as the framing allows, usually from above and aimed toward the mouth or upper chest. Outdoors, proper wind protection becomes essential.
And of course, make sure the microphone doesn't creep into the frame. That's a fun surprise to discover in the edit.
View two more behind-the-scenes boom and interview setups +
Handheld, Headset, On-Camera, and Ambient Microphones.
Lavaliers and shotguns will cover a lot of situations. But they're hardly the only microphones worth understanding.
Here's how I'd think about three other common options.

Handheld Mics.
Great for interviews, live events, and announcements when the microphone can be visible. Keeping it close makes a big difference.
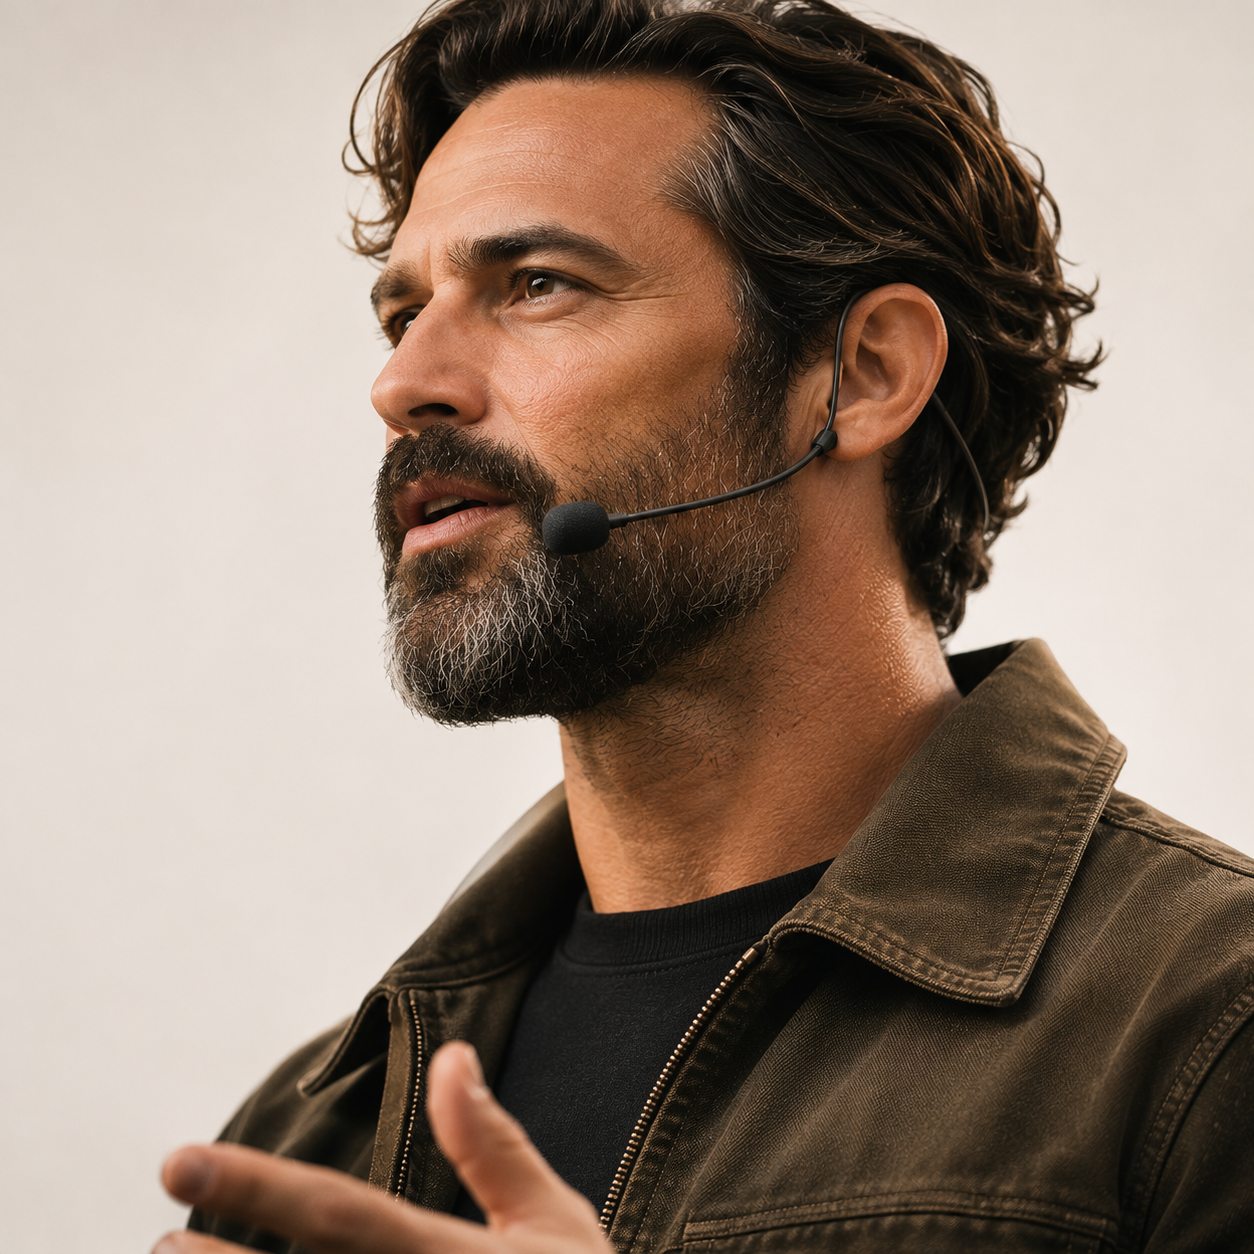
Headset Mics.
Useful for presenters and instructors who need both hands free. The microphone stays in position as the speaker moves.
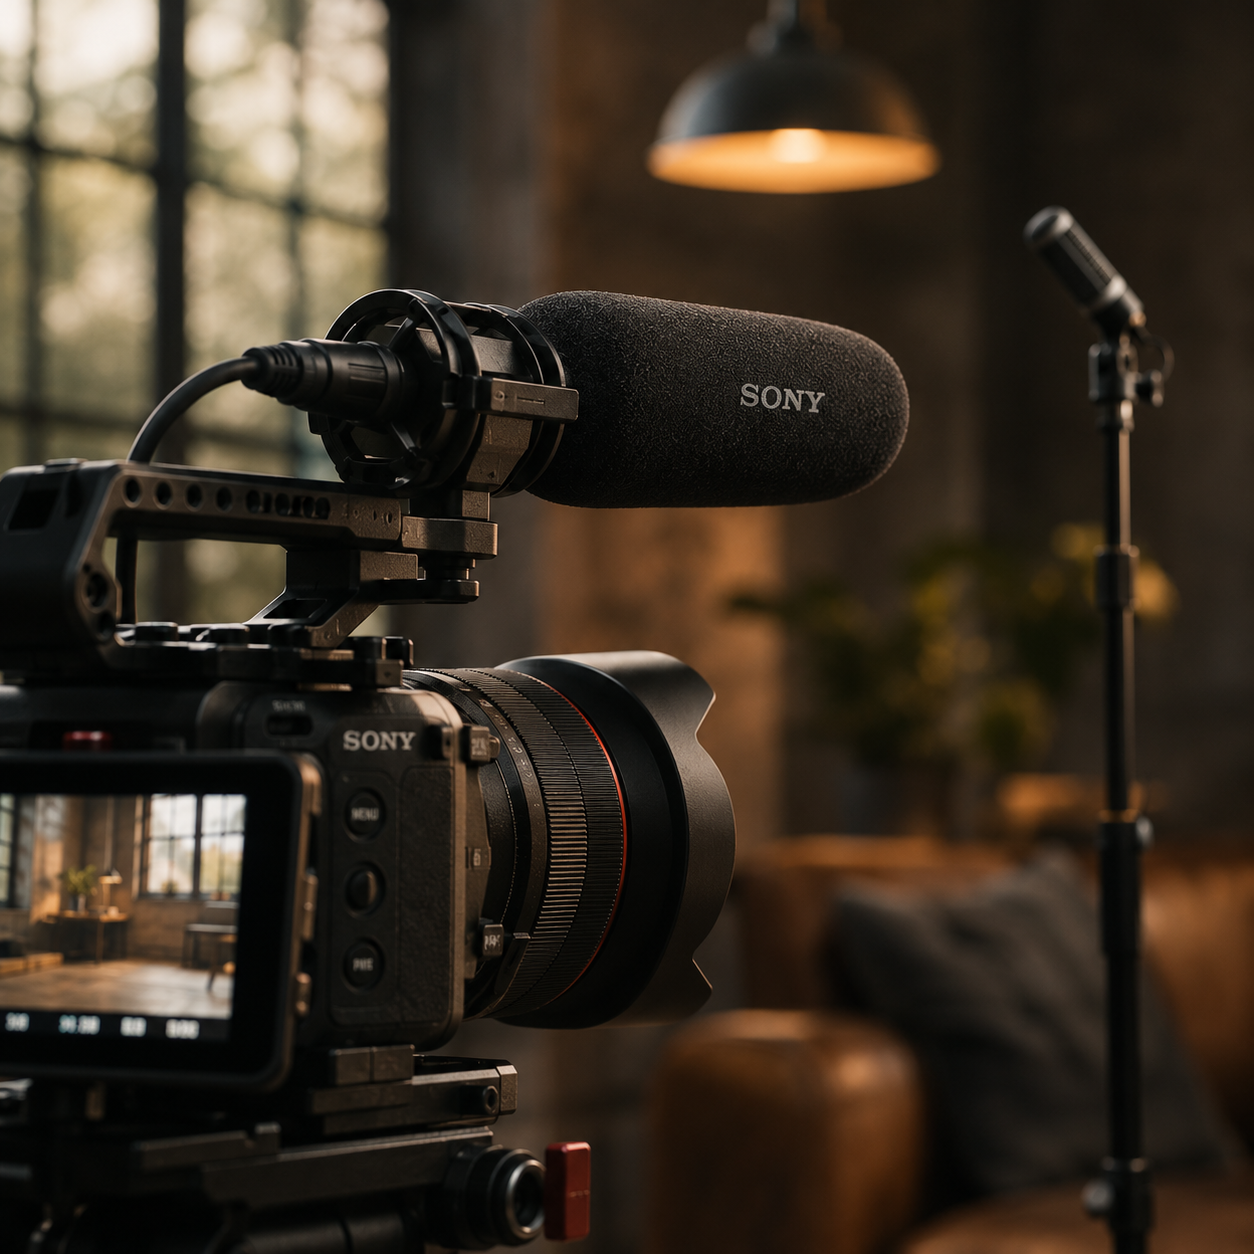
Camera & Room Mics.
On-camera mics are handy for run-and-gun and reference audio. Room mics capture ambience, reactions, and atmosphere.

If you start recording music, instruments, or complicated sound environments, you'll encounter plenty of other tools: studio condensers, dynamics, stereo pairs, boundary microphones, and specialty mics.
We could spend all day talking about those. For now, I'd rather you understand why you'd choose a microphone than memorize a catalog of equipment.
Wired, Wireless, and the Audio Signal Chain.
You've chosen a microphone. Great. Now we need to get the sound into your camera or recorder without introducing a whole new set of problems.
Here's the basic signal chain: microphone → cable or transmitter → receiver or input → recorder. That's the foundation.

Freedom Comes With a Trade-Off.
A wired mic sends its signal through a physical cable. A wireless system uses a transmitter and receiver to move that signal without a cable running between them.
Wireless is incredibly convenient when your subject needs to move, but it introduces batteries, pairing, interference, and possible dropouts.
I love wireless gear. I just don't assume it's working because the power light came on.
Three Connections Worth Knowing.
3.5mm: Common on mirrorless cameras and compact wireless systems. Be aware that wiring configurations vary. Not every 3.5mm cable works with every device.
XLR: Common on professional microphones and recorders. Some condenser microphones need compatible phantom power, often 48 volts.
Mic level versus line level: These signals operate at different strengths. Feeding a strong line-level output into a mic-level input can cause distortion. Confirm the input settings before you connect unfamiliar equipment.
Which Microphone Should You Actually Use?
Knowing what a shotgun microphone is and knowing when to use one are two very different things.
Before I choose a microphone, I think about three things: the subject, the environment, and the finished shot. Are they seated or moving? Is the room quiet? Does the mic need to be invisible?
Those questions usually narrow things down quickly.

Start With the Subject.
Is the subject seated, standing, or moving? Are they answering questions, talking to camera, or interacting with someone else?
Next, think about the room. A quiet studio is a very different challenge from a crowded event or windy outdoor location.
Finally, think about the image: can the microphone be visible, or does it need to stay out of the frame?
The right choice has more to do with those answers than a price tag.
| Production | Starting Point | What I'd Watch For |
|---|---|---|
| Seated interview | Boom mic, lav, or both | Room reflections, clothing noise, placement |
| Walk-and-talk | Wireless lav or operated boom | Wind, dropouts, changing distance |
| Commercial dialogue | Boom with lav backup when practical | Consistent levels, shadows, framing |
| Event interview | Handheld or close-positioned lav | Crowd noise, music, mic technique |
| Documentary / run-and-gun | Wireless lav plus camera reference audio | Unexpected movement, batteries, changing locations |
| Atmosphere / room sound | Dedicated ambient mic or stereo recorder | Wind, unwanted voices, room character |
| Product / foley detail | Close-positioned directional or specialty mic | Handling noise, reflections, quiet backgrounds |
Don't Just Watch the Audio Meters. Listen to the Recording.
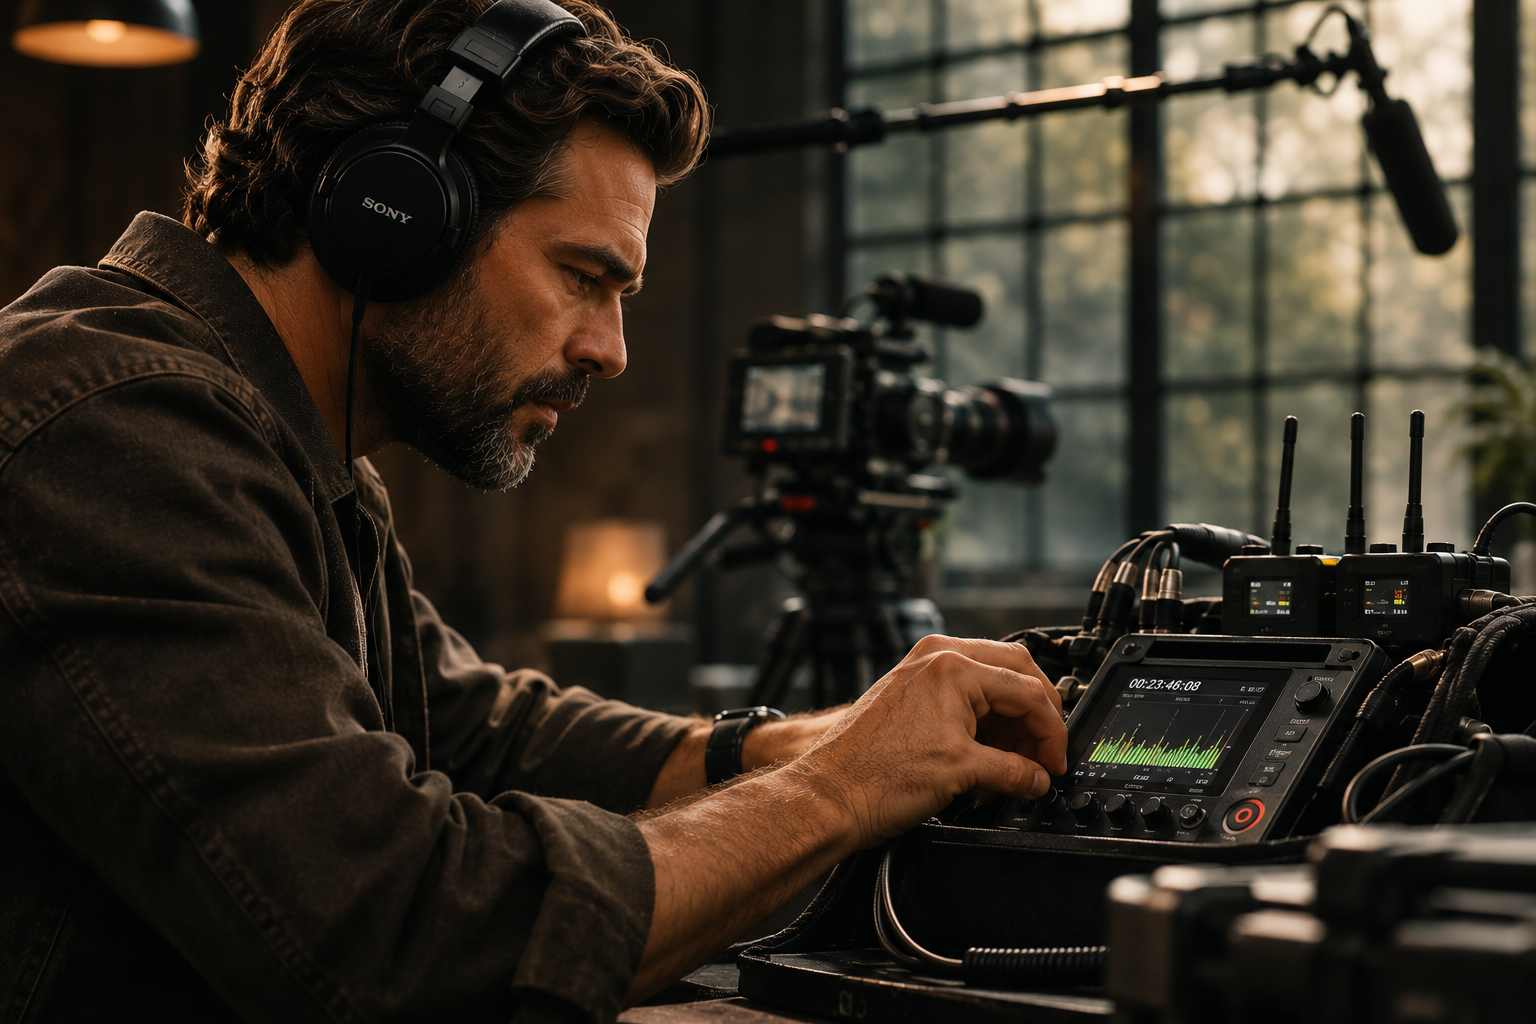
One of the easiest mistakes on set is assuming the sound is fine because a little meter is moving on the camera.
A moving meter doesn't tell you whether a lav is rubbing against a shirt, someone turned off the wrong transmitter, or the room sounds like a subway tunnel.
Put on headphones. It's a remarkably effective way to avoid unpleasant surprises.
Leave Room for the Unexpected.
For conventional 24-bit digital recording, I often use dialogue peaks around -12 to -6 dBFS as a starting point, adjusting for the equipment and situation.
That leaves space for a person who suddenly gets louder without immediately clipping the file.
For video, 48 kHz is a common sample rate, and 24-bit is a practical format when available.
Some recorders offer 32-bit float, which adds level flexibility. But it won't fix a poorly placed microphone or distortion introduced elsewhere in the chain.
Recording In-Camera vs. an External Recorder.
Recording directly to the camera is convenient because your audio and video are already together. An external recorder may offer better connections, isolated tracks, more monitoring options, and greater control.
Neither approach is automatically better. The important part is understanding the workflow before the shoot.
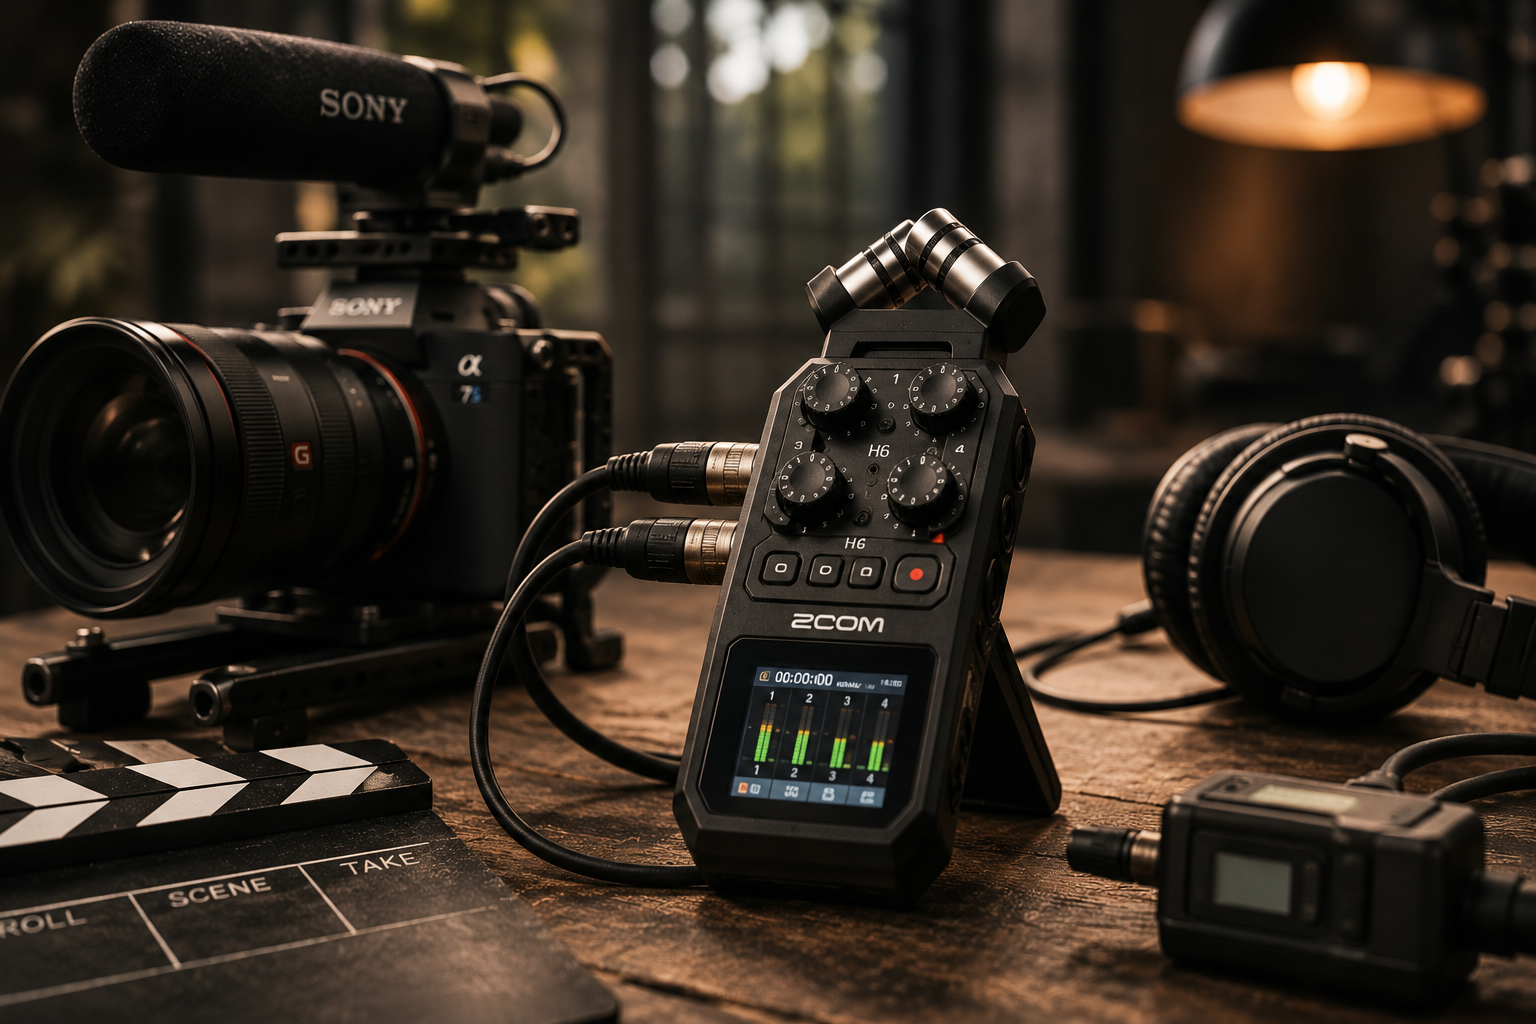
If you're capturing audio separately, you'll need a way to synchronize it. Matching timecode can help when your devices support it. Otherwise, keep reference audio in the camera and use a slate or a hand clap at the start of a take.
Most importantly, record a short test, play it back, and verify that the file was saved correctly. Future you will appreciate it.
My Production Audio Checklist.
If you're assisting me on a shoot, these are the things I'd want us to check before anyone says, “Rolling.” They're simple habits, but they're also the ones that prevent avoidable mistakes.
Match it to the subject, room, and type of recording.
Keep it close, secure, aimed correctly, and away from rubbing or wind.
Check cables, receivers, inputs, signal levels, and channel assignments.
Confirm batteries, recording media, and available backups.
Have the subject speak normally and loudly. Leave some headroom.
Listen for hum, rustling, interference, reverberation, and distortion.
Listen to the actual saved file, not just a moving meter.
Know where every track is recorded and how it will be synchronized.
Six Audio Problems You'll Eventually Run Into.
Equipment fails. People move. Locations sound terrible. The goal isn't to pretend those things won't happen; it's to recognize the problem while you can still fix it.
Open any of these for a practical first step.
01 / The voice sounds distant or hollow.
Move the microphone closer. Reduce environmental noise and room reflections where possible. In reflective spaces, test a different microphone or position.
02 / The lavalier keeps rustling.
Move the capsule away from fabric or jewelry, secure the cable, and have the subject move naturally while you listen.
03 / The recording is distorted.
Check each stage of the signal chain—microphone, transmitter, receiver, mixer, and recorder. Lower an overloaded gain stage and confirm that mic-level and line-level settings match.
04 / Wireless audio keeps cutting out.
Check batteries, pairing, antenna placement, range, interference, and obstructions. Switch to a reliable wired or backup method if the issue continues.
05 / There's a constant hum or buzz.
Inspect cables, connectors, power supplies, and routing. A bad connection or ground loop may be involved. Never defeat electrical safety grounds to silence a hum.
06 / External audio won't synchronize.
Use timecode, a slate, a clap, or camera reference audio. Check for timing drift and confirm the correct files were recorded.
The Essential Production Audio Cheat Sheet.
I want this to be something you can keep in your camera bag or hand to someone helping on their first shoot.
One reference for microphone types, pickup patterns, placement, recording levels, and the checks worth making before every production.

As photographers, we spend an incredible amount of time learning how to see. We study light, composition, color, and everything happening inside the frame.
When you start making films, you have to learn how to listen, too.
The microphone matters. The placement matters. The room matters. And the person responsible for actually listening matters quite a bit.
Don't let all of this overwhelm you. Learn what each microphone is designed to do. Practice with it. Make a few mistakes when the stakes are low, and take what you've learned into the next assignment.
You don't need every piece of equipment on the market. You need the right tools, some preparation, and enough understanding to know when something isn't working.
That's how you get better.
Now Put It All Together.
Visuals, movement, and audio are three parts of the same creative process. Learn how they work on their own, then learn how they make one another better.
If you've read all three parts, stop reading tutorials for a little while and go make something. You'll learn quite a bit faster with a camera in your hands.