Camera Techniques | How to Shoot Video with Your DSLR or Mirrorless Camera | Visuals (Part I)
If you're a photographer exploring the world of video or just picking up your first camera to shoot video, you're in the right place.
Learning how to shoot video might seem daunting at first, but in this three-part series, I'll break it down in an easy to understand way.
To do so, I've broken down the series into Visuals, Movement, and Audio, and I'll have more advanced articles I'll create soon to help you elevate your level of production value, so stay tuned!
What is Video?
Video is a combination of visuals, movement, and audio. At a bare minimum, a video will have visuals and movement, even without the audio.
What Makes Up a Video?
Visuals (Covered Here)
Whether you're shooting A-roll (principal photography) or B-Roll (supporting footage), you'll want to capture a variety of videos to tell your story or narrative. That includes filming interviews, atmospheric shots of a location or object, establishing shots, stock footage, drone footage, etc.
Movement (Covered in Part II)
Have you ever seen a movie with the camera locked down on a tripod and thought it was interesting? Probably not. Movement is an essential part of shooting video, whether that's hand-holding it or using one or more tools to create dynamic and creative content.
Audio (Covered in Part III)
Sound is an essential aspect of keeping your audience engaged. The right interview, atmospheric noise, and background music can increase overall production value, evoke emotional responses, and emphasize the mood you want your audience to feel.
CREATING THE VISUAL ELEMENTS
Frame Rates
In the simplest terms, video is just a series of photos played in rapid succession—the more photos recorded per second, the more fluid the footage looks. The number of images played per second is called frame rate or fps (frames per second).
As a rule of thumb, here are the frame rates you’ll be using for specific styles:
24 FPS - Cinematic
30 FPS - TV / Documentary
60 FPS - Sports / Highspeed or to used create slow-motion
120 FPS - Used for ultra slow-motion
Resolution
Digital video resolution is usually written in pixel dimensions. For example:
240p - 426 x 240 / Minimum YouTube Video Size
360p - 640 x 360 / Traditional Website Resolution
480p - 854 x 480 / Standard Definition)
720p - 1280 x 720 / Minimum Resolution for HD
1080p - 1920 x 1080 / Maximum Resolution for HD
1440p - 2560 x 1440 / 2K
2160p - 3840 x 2160 / 4K

Aperture
Used to control overall exposure and your depth of field, or how much of your shot is in or out of focus.
Shutter Speed
When shooting video on your DSLR or mirrorless camera, you will no longer be using your shutter speed to control overall exposure. Instead, you’ll want to set it to two times your frame rate and only adjust it when you change your desired frames per second. For example:
1/50 Second - 24 frames per second
1/60 Second - 30 frames per second
1/125 Second - 60 frames per second
1/250 Second - 120 frames per second
ISO
ISO is a measurement of how sensitive your camera is to the available light. ISO for video works the same as it is for photos. When you adjust the ISO for your videos, they'll be brighter or darker.
White Balance
White balancing your camera to the 'color' of the light you are shooting means adjusting the colors so that they look natural. In layman's terms: You'll want white to look white.
Picture Styles (Profiles)
Picture Styles/Profiles are adjustable presets that determine how your DSLR will render images. As an example:
Standard - The default setting on your camera. It creates sharp images and bold colors. (High Sharpness / High Saturation)
Portrait - Adjusts the color tone magenta to yellow. Keeps the soft and natural feeling of the skin. (Low Sharpness / High Saturation)
Neutral - Creates the flattest image with the most dynamic range. *Only use this if you plan on color correcting your footage. (Low contrast / Low Saturation)
Picture styles applied to JPEG and MOV files are Permanent and cannot be completely undone. Be sure to select the right setting that works for your scene and keep it consistent throughout the entire production so that you don’t need to match shots in post-production.
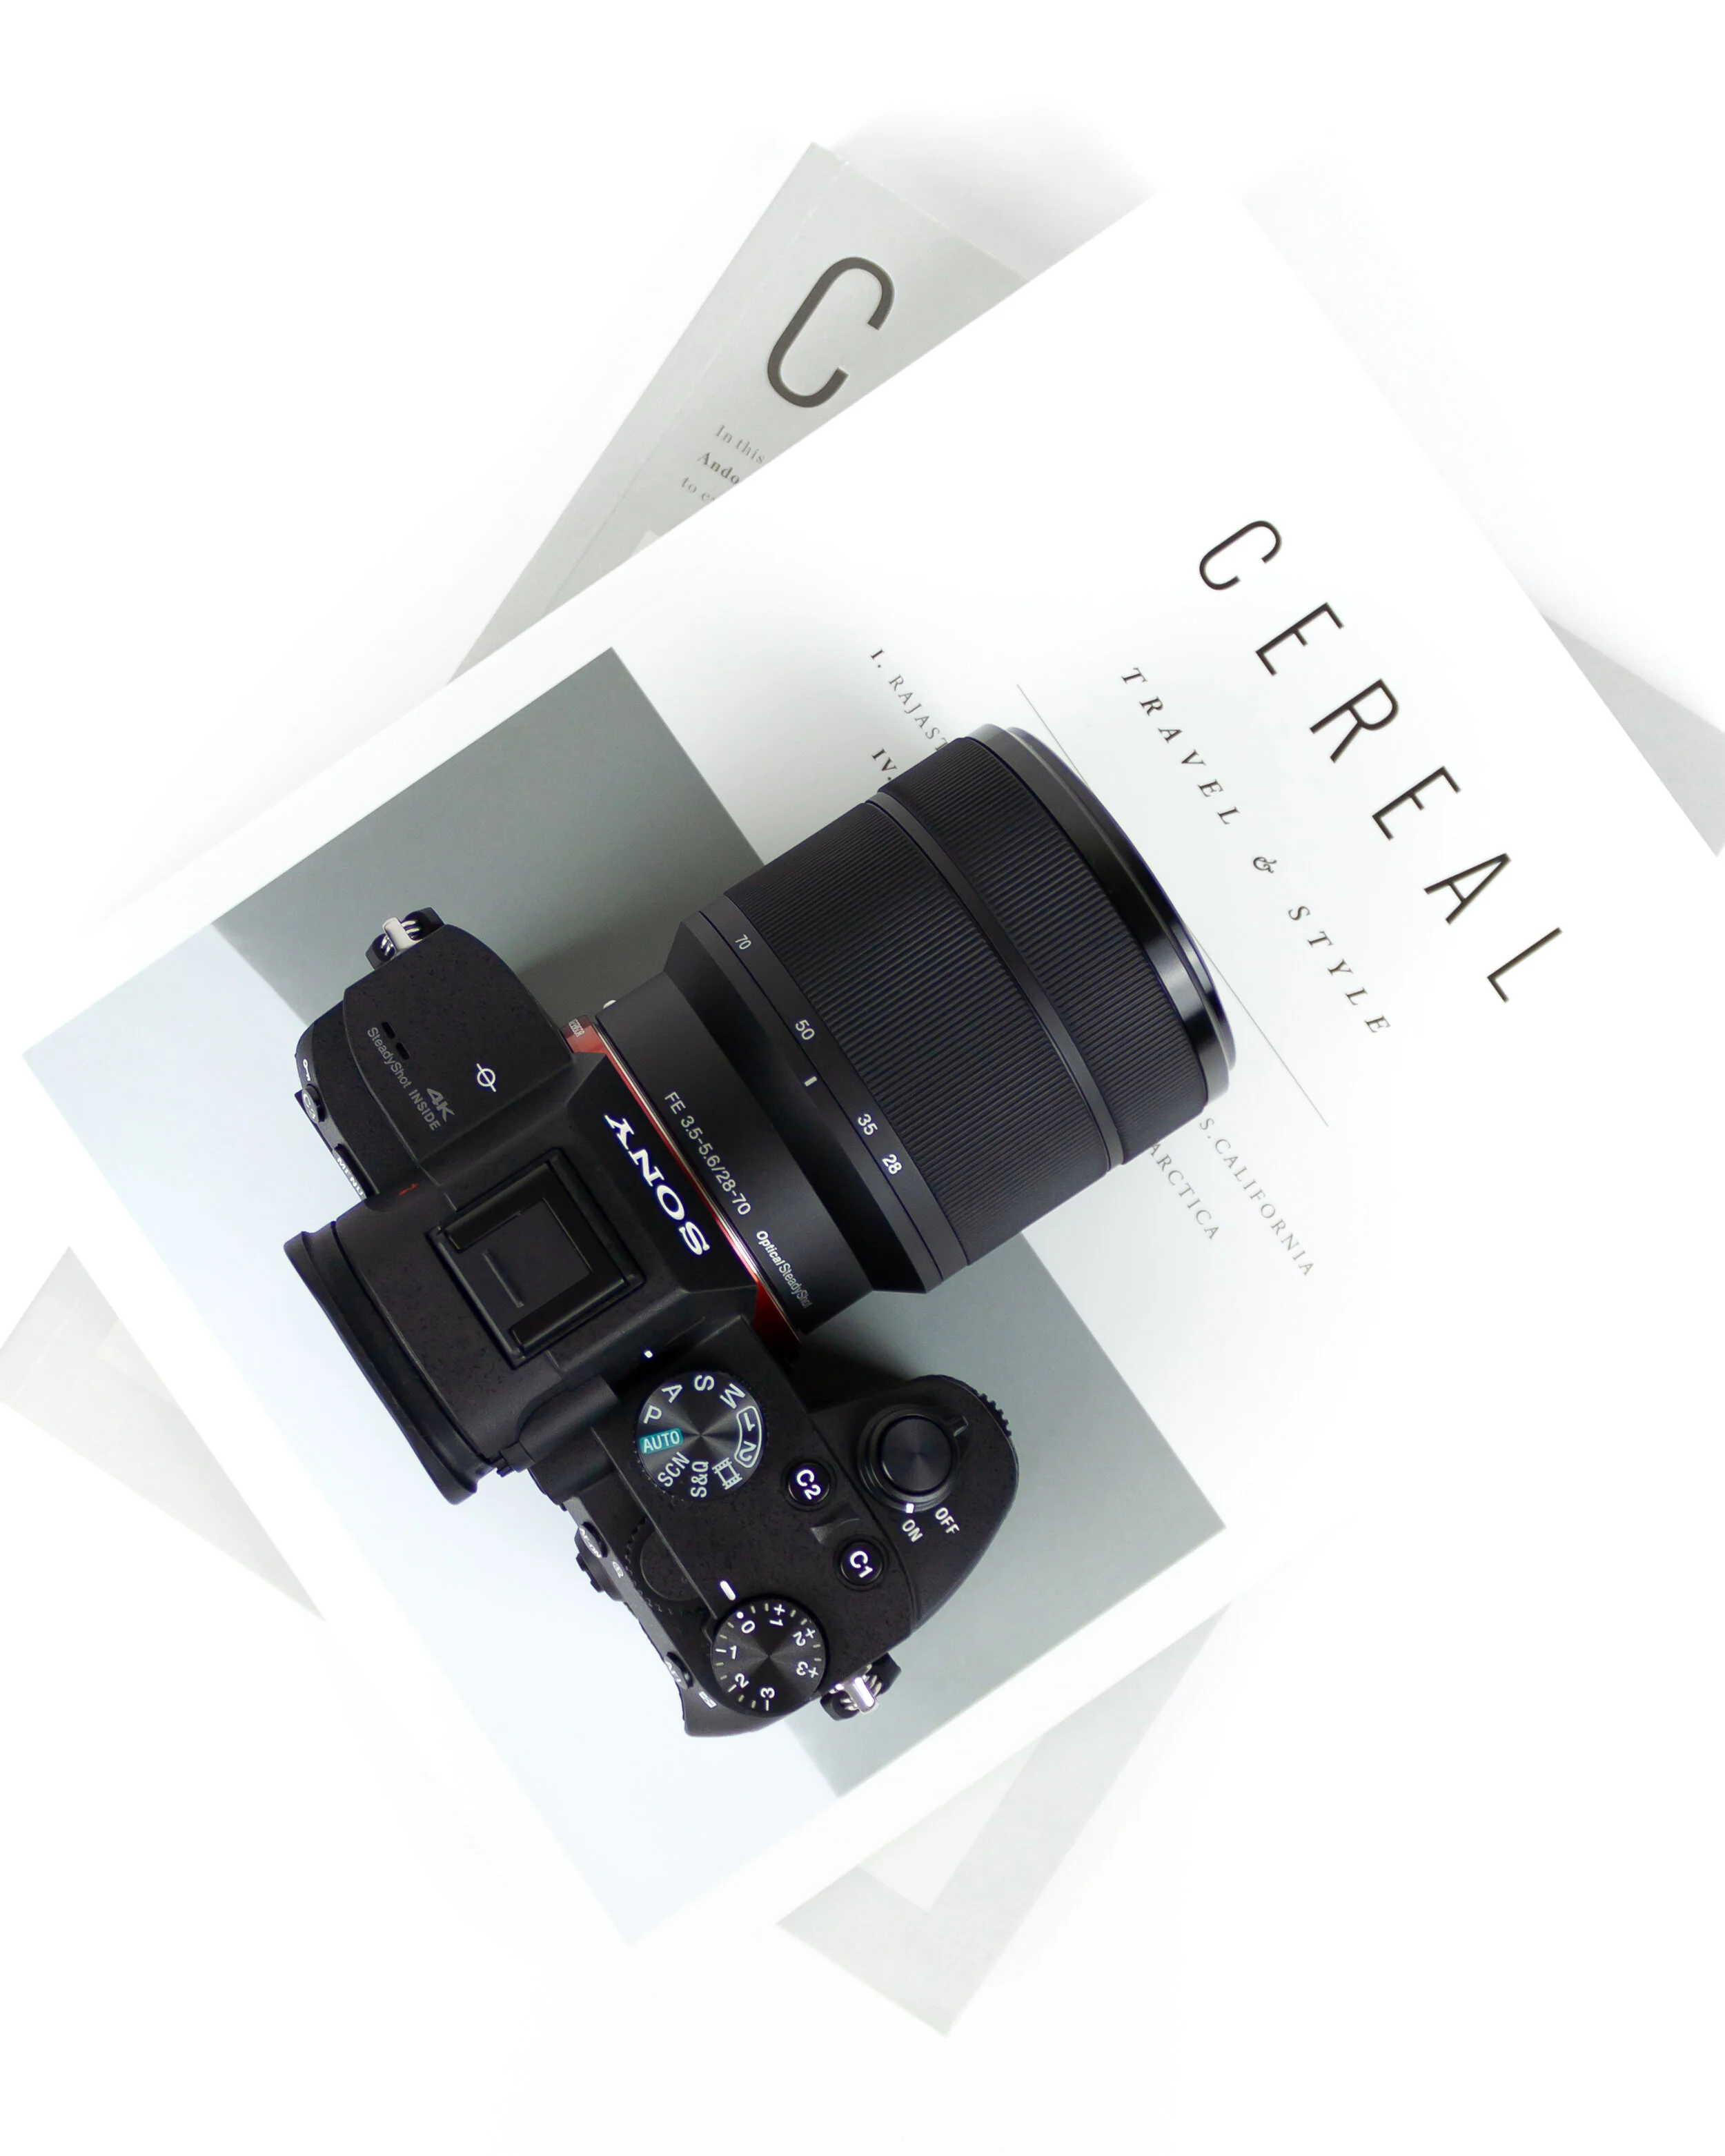
SETTING UP YOUR CAMERA
Manual Mode - Because you want FULL control over your camera, you’ll want to stick with using it in manual mode.
Frame Rate - Choose the frame rate that matches your vision and stick with once frame rate, unless you’re shooting slow-motion video.
Resolution - Which resolution you decide on depends on your camera/computer limitations and the client’s expectations. At the present moment, I try and shoot everything at 1080p minimum.
Important: The larger your resolution is, the larger your file size will be. Additionally, while you can scale your video to a small resolution, scaling up means, you’ll lose video quality.
Aperture - Set to the exposure for your scene.
Shutter Speed - Use the shutter speed that matches your frame rate.
ISO - Used to control overall exposure. For the cleanest image, you’ll want to use native ISOs like 160, 320, 640, 800, 1600, etc.
White Balance - Unless you’re shooting RAW video format, you’ll want to use the standard presets available to you and stay away from Auto White Balance (AWB). AWB will change the white balance in the middle of your shot, which means it is almost impossible to edit out in post-production.
Picture Style - Select a single picture style for your shoot and stick with it.