Camera Techniques | How to Shoot Video with Your DSLR or Mirrorless Camera | Audio (Part III)
If you're a photographer venturing into the world of video, audio might feel like stepping onto an alien planet. It’s invisible, technical, and easy to overlook, until you realize bad sound can ruin great footage. The good news? You don’t need to be an audio engineer to get it right. This guide will help you master the essentials of capturing clean, professional sound for your DSLR or mirrorless video work.
What is Audio?
Audio refers to all sound components in your film: voiceovers, dialogue, music, sound effects, and ambient noise. Your job is to record what you want to hear, clearly, and reduce what you don’t.
How Audio Appears in an Editing Timeline
When editing video, audio tracks appear as layered clips in your timeline, much like Photoshop layers, but with time as the added axis. Each video clip has an accompanying audio track, which you can trim, stack, and finesse for precise storytelling.
Generally speaking, every video clip will have a dedicated audio clip attached to it. For example, in FIGURE 1.1, you can see that the blue audio clips are the exact length of time as the video clips they’re associated with.

Figure 1.1
The Basics of Recording Audio
There are two primary methods:
On-Camera Audio: Using a mic mounted directly to your camera, great for run-and-gun situations.
Dual-System Audio: Capturing sound separately on an external recorder, then syncing it to the footage in post. This gives you more control and better sound quality.
Pro Tip: Always record a clap (or use a slate) at the start of a clip to make syncing easier in post-production.
On-Camera Audio
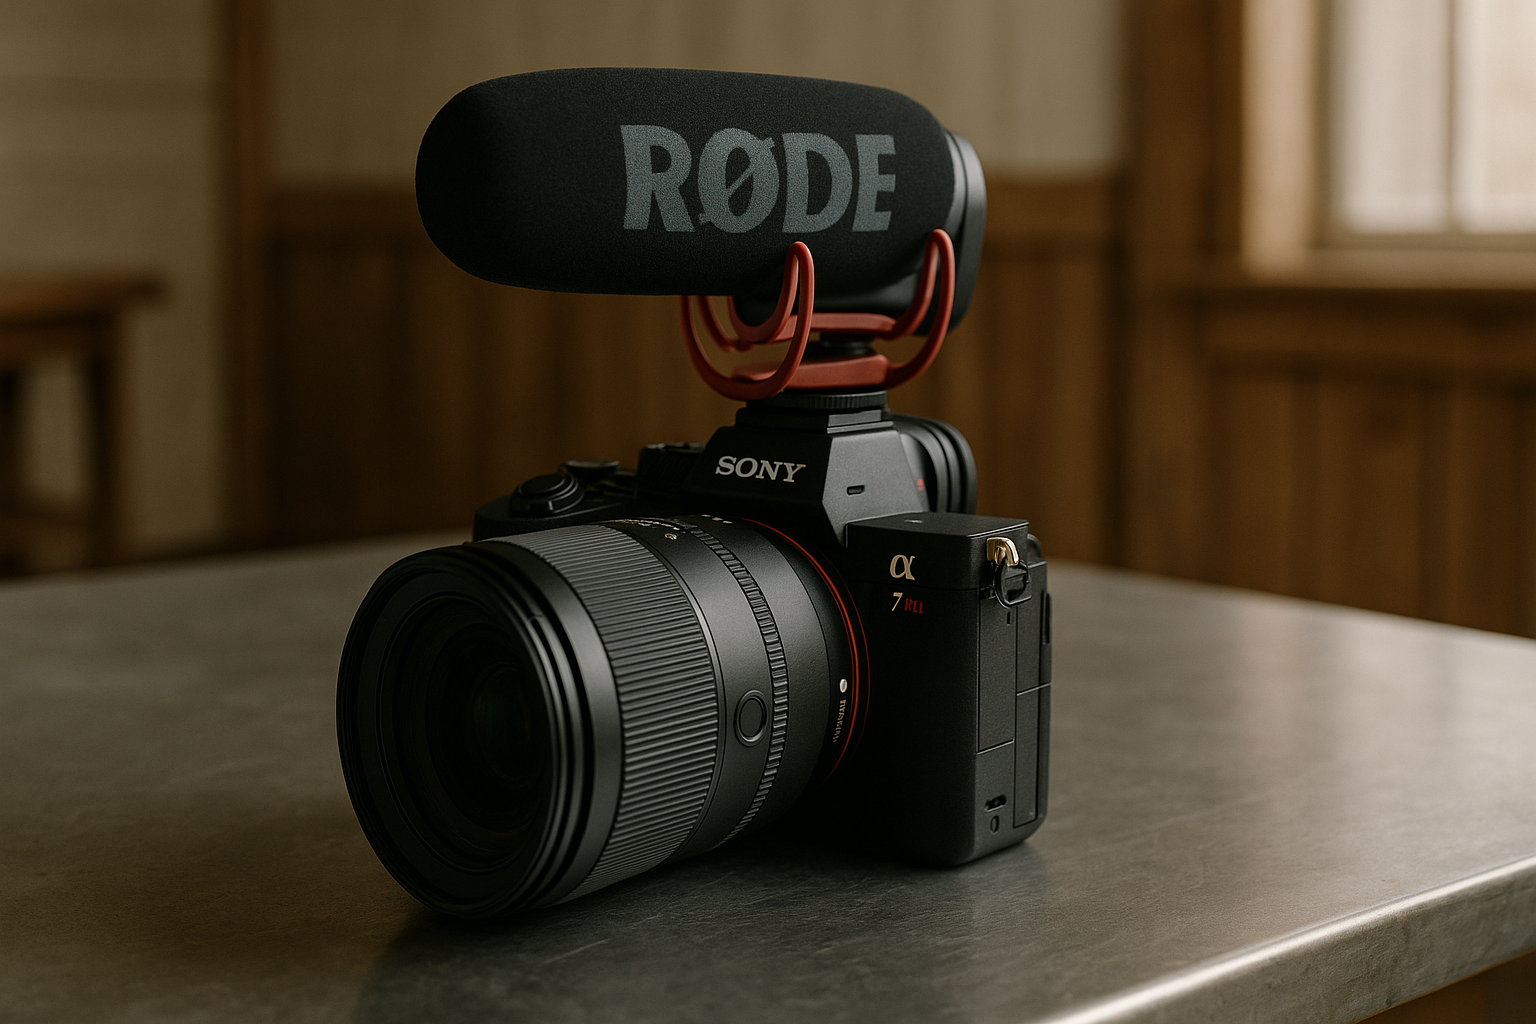
Using a microphone mounted directly to your camera is the simplest and fastest way to capture audio. This setup is commonly used in vlogging, documentary, event coverage, or any run-and-gun situation where speed and mobility matter more than pristine sound.
Most creators use compact shotgun mics like the Rode VideoMic series or Deity V-Mic D3 for this purpose. These directional mics capture sound in front of the lens while minimizing side and rear noise, perfect for capturing interviews or commentary in the moment.
Pros:
Simple plug-and-play setup
Lightweight and portable
Audio stays synced with video by default
Great for quick setups, travel, or one-person crews
Cons:
Picks up handling noise and lens sounds
Limited distance from your subject
Audio quality isn’t as rich or isolated as dual-system setups
Best For:
Vlogging, behind-the-scenes content, travel videos, and casual interviews
Dual-System Audio
Dual-system audio involves recording sound on a separate device (like a Zoom H5, Tascam DR-40X, or even a smartphone with an external mic) and then syncing it to your footage during editing. This method gives you more control over the quality and environment of your audio capture.
Since these recorders are designed specifically for sound, they often feature better preamps, adjustable input levels, and cleaner signal paths. This approach is especially useful when using boom mics, wireless lavaliers, or recording in acoustically complex environments.
Pros:
Higher audio fidelity
Cleaner recordings with better control over levels
Flexible mic placement away from the camera
Ideal for narrative, commercial, and interview work
Cons:
Requires manual or automated syncing in post-production
Adds a second device to manage
Not ideal for fast-paced, single-operator shoots
Best For:
Interviews, commercial shoots, short films, scripted content, or any project where audio quality is a top priority
Never Rely on Your Camera’s Built-In Mic
Camera mics are typically low-quality and pick up all the wrong sounds, lens focusing, button clicks, and even your breathing. If audio matters (and it always does), invest in a quality external mic.
Types of External Microphones
Shotgun Mic
Directional mic that captures sound in front of it. Ideal for dialogue, vlogging, or on-camera interviews. Mount it on your hot shoe or boom it overhead for best results.Lavalier Mic (Lav)
Small, clip-on mic for interviews or presentations. Place it close to the speaker’s mouth for clean, intimate audio.Omnidirectional Mic
Captures sound equally in all directions. Great for ambient sounds or roundtable discussions—but not ideal for noisy environments.External Recorder
Use a device like a Zoom H5 or Tascam DR-40X for high-fidelity sound. Great for interviews, VO, or field recordings.
Syncing Audio in Post
Most editing software (like Premiere Pro or Final Cut) lets you auto-sync separate audio and video tracks using waveform analysis. To manually sync, use your slate or hand clap as a visual and audio cue.
Final Thoughts
Great video isn't just seen, it’s heard. Clean, intentional audio can instantly elevate your content and make it feel polished and professional. Don’t ignore it. Master the basics; you’ll be miles ahead of most beginner filmmakers.